¶ Configure a Signature Profile
The instructions below will help you understand how to configure a signature profile in the DS Sign&Go application, as well as its functionality.
¶ First Use and Required Setup
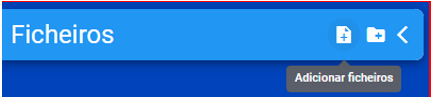
To start the first signing process, click the "Add Files" button, located in the file bar, as shown in the image below:
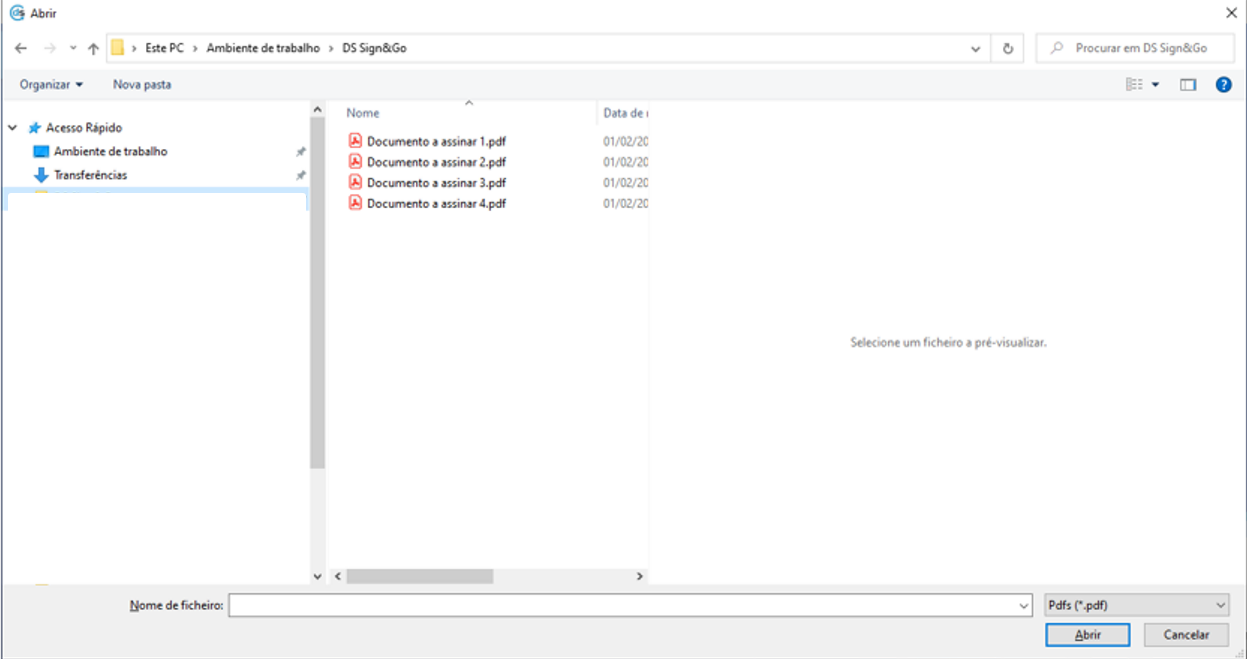
Clicking the button mentioned above will open a window where you can indicate the file(s) you wish to submit for signing:
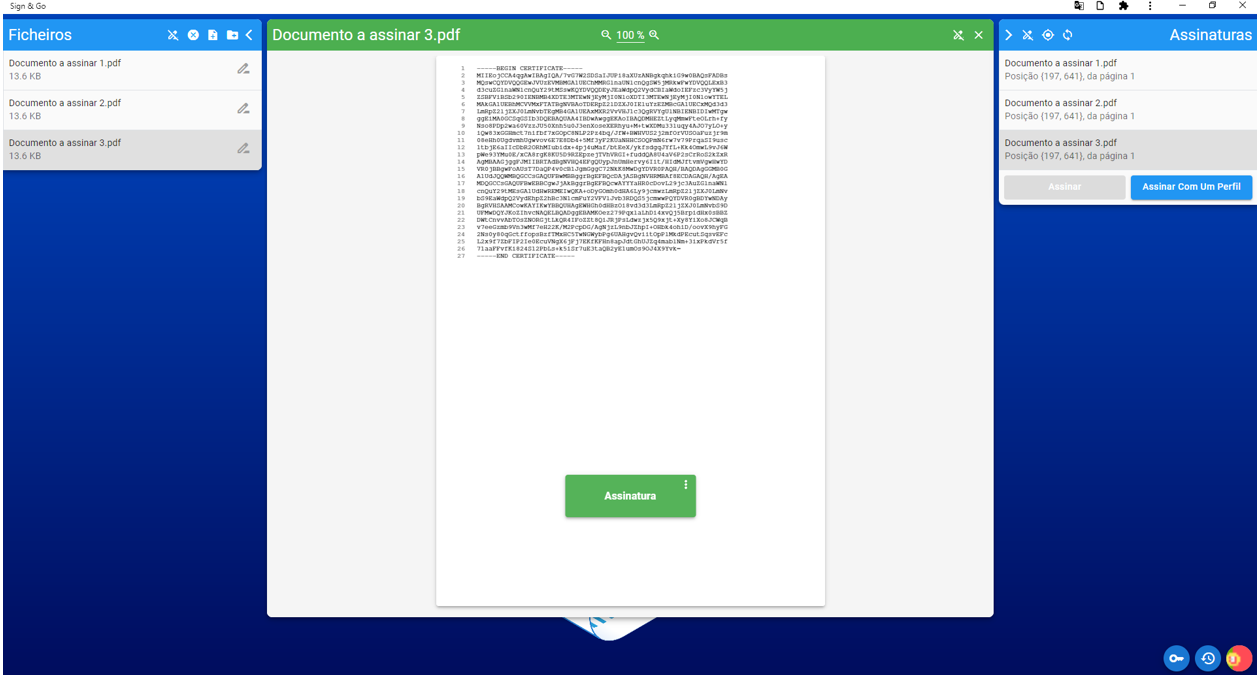
Once the files are selected, your workspace in DS Sign&Go will change its appearance. On the left side, you will see the files you uploaded to DS Sign&Go, while on the right side, you can configure the signature for each file.
In the central module, the currently selected file will be displayed.
¶ Configure a Signature Profile
Now that we have uploaded the first files, we can proceed to configure a signature profile.
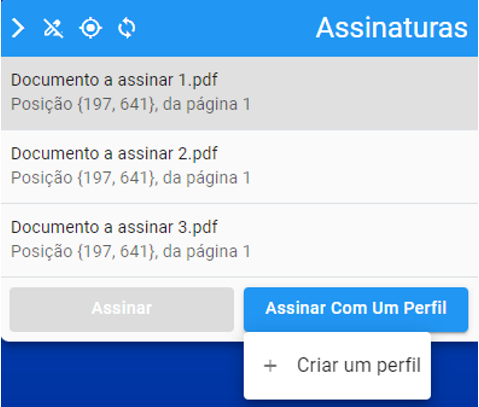
To do this, select the Sign with a Profile option in the right section of the screen, followed by + Create a Profile.
This action will display the certificates installed on your machine (valid and expired, as well as Qualified and Advanced).
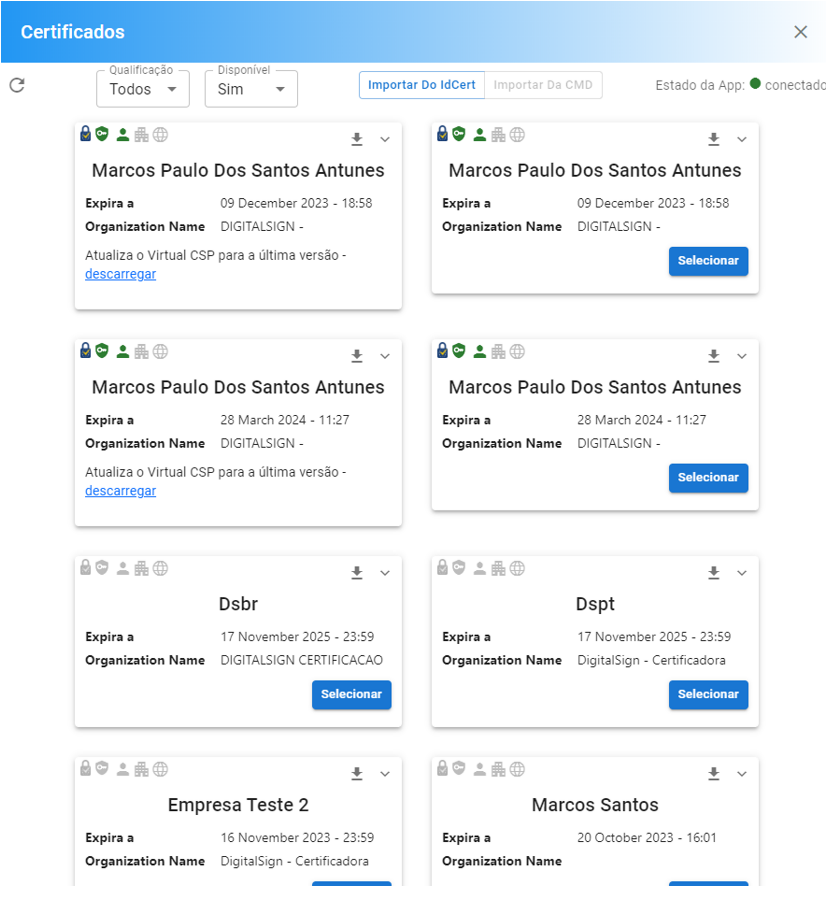
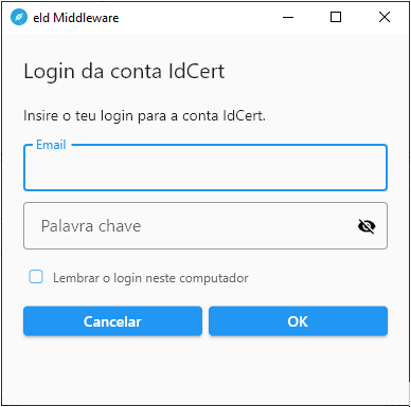
If your HSM Cloud certificates are not displayed in the above window, click the Import from IdCert button.

When selecting this option, you will be prompted to authenticate using your IdCert credentials.
After importing all your certificates, you can filter which certificates you want to see.
In the top-left corner, you will find the "Qualification" and "Available" filter options.

Under Qualification, you can filter by certificate type (Qualified and Advanced), and under Available, you can filter by Valid, Expired, or All certificates.
Next, select the certificate you want to use to create a signature profile.
¶ Types of Signature and Presentation
When you select the desired certificate for the profile, a window with various configuration options for the profile will appear. The header displays the certificate holder's name. In the image below, the holder is shown as DigitalSign - Certificadora Digital, S.A.
¶ Signature Level
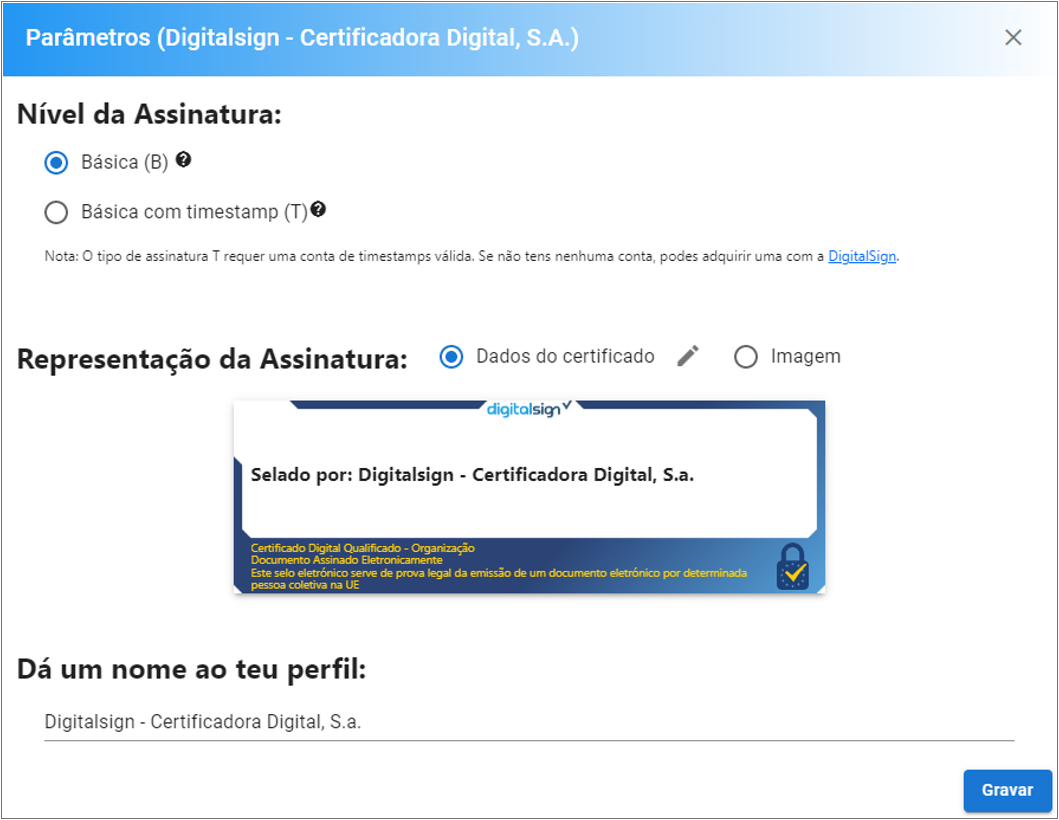
In the first configuration option, you can set the signature level, as explained below:
- Basic (B): Signature is valid as long as the certificate is valid.
- Basic with timestamp (T): Signature is valid as long as the certification chain of the signing certificate is valid. Other signatures will remain unaffected.
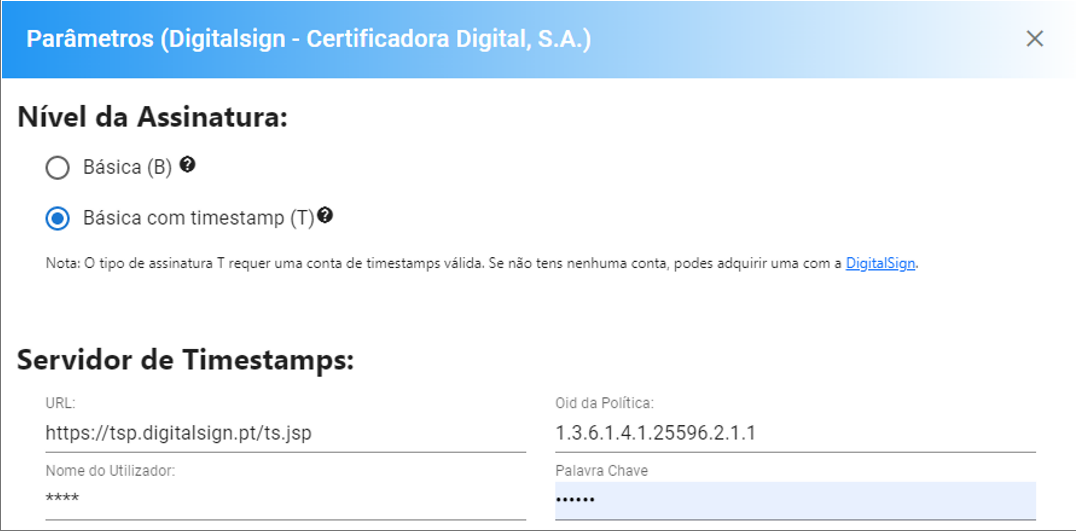
When configuring the T Signature, the data related to DigitalSign as the TimeStamp service provider will already be filled in. If your provider is not DigitalSign, request the required information from your provider.
¶ Signature Representation
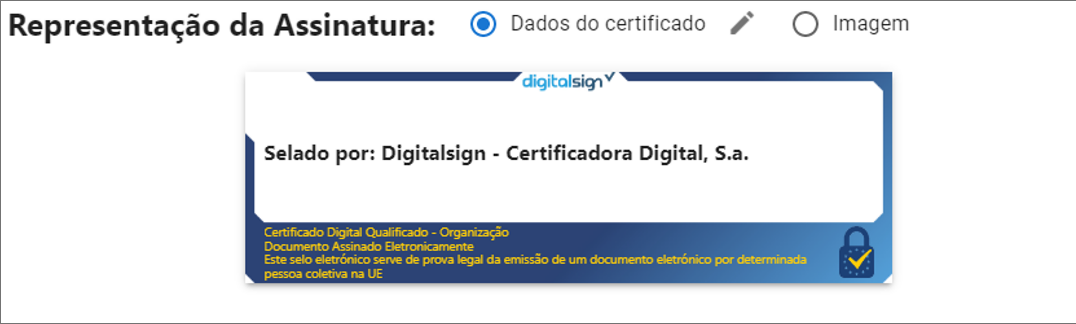
In the “Signature Representation” field, you can use our predefined signature template (“Certificate Data”).
Additionally, you can choose the “Image” representation option, which consists of:
- Typed
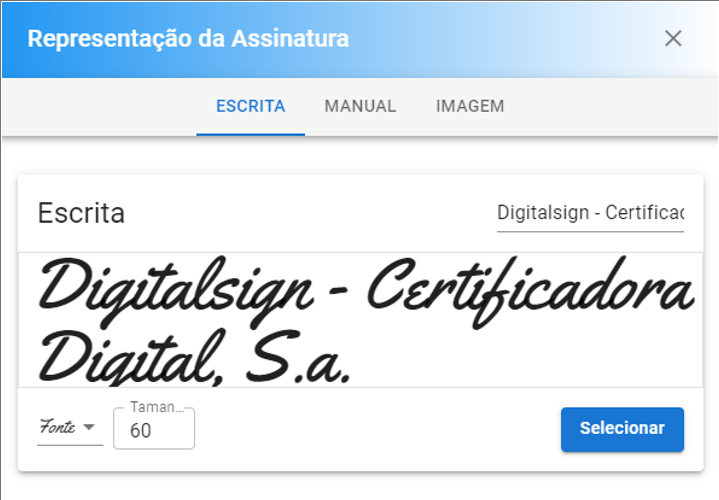
A typed representation of the certificate holder's name. You can modify the displayed name in the field located just above and to the right of the displayed name. Note that this designation is not legally binding to the certificate. You can also change the font and text size. - Manual
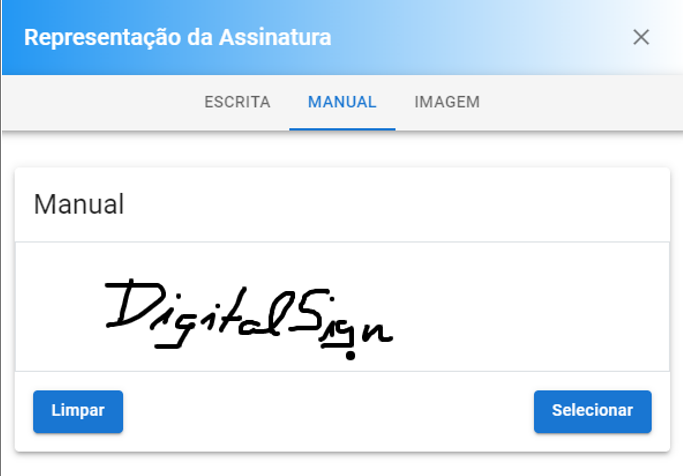
A manual signature representation that you can create using a mouse or, if available, a touchscreen device. - Image
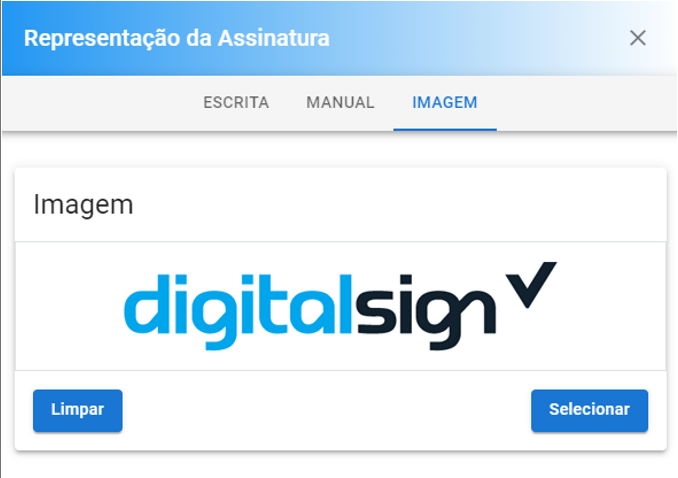
Click inside the rectangle associated with the image field to upload an image of your choice. For example, it could be a scanned signature or even your company logo.
¶ Profile Name
After choosing your preferred signature representation, you will be prompted to name the profile, which will serve as a method of identification in the Signatures bar.

Clicking Save will finalize the configuration of the Signature Profile.